Sample Batch 1
Using wool and gelatine
Recipe Batch 1:
- Water 240ml
- Gelatine 48 g
- Glycerol 0 g - for a rigid effect
- Wool - to ensure it stays together
Steps:
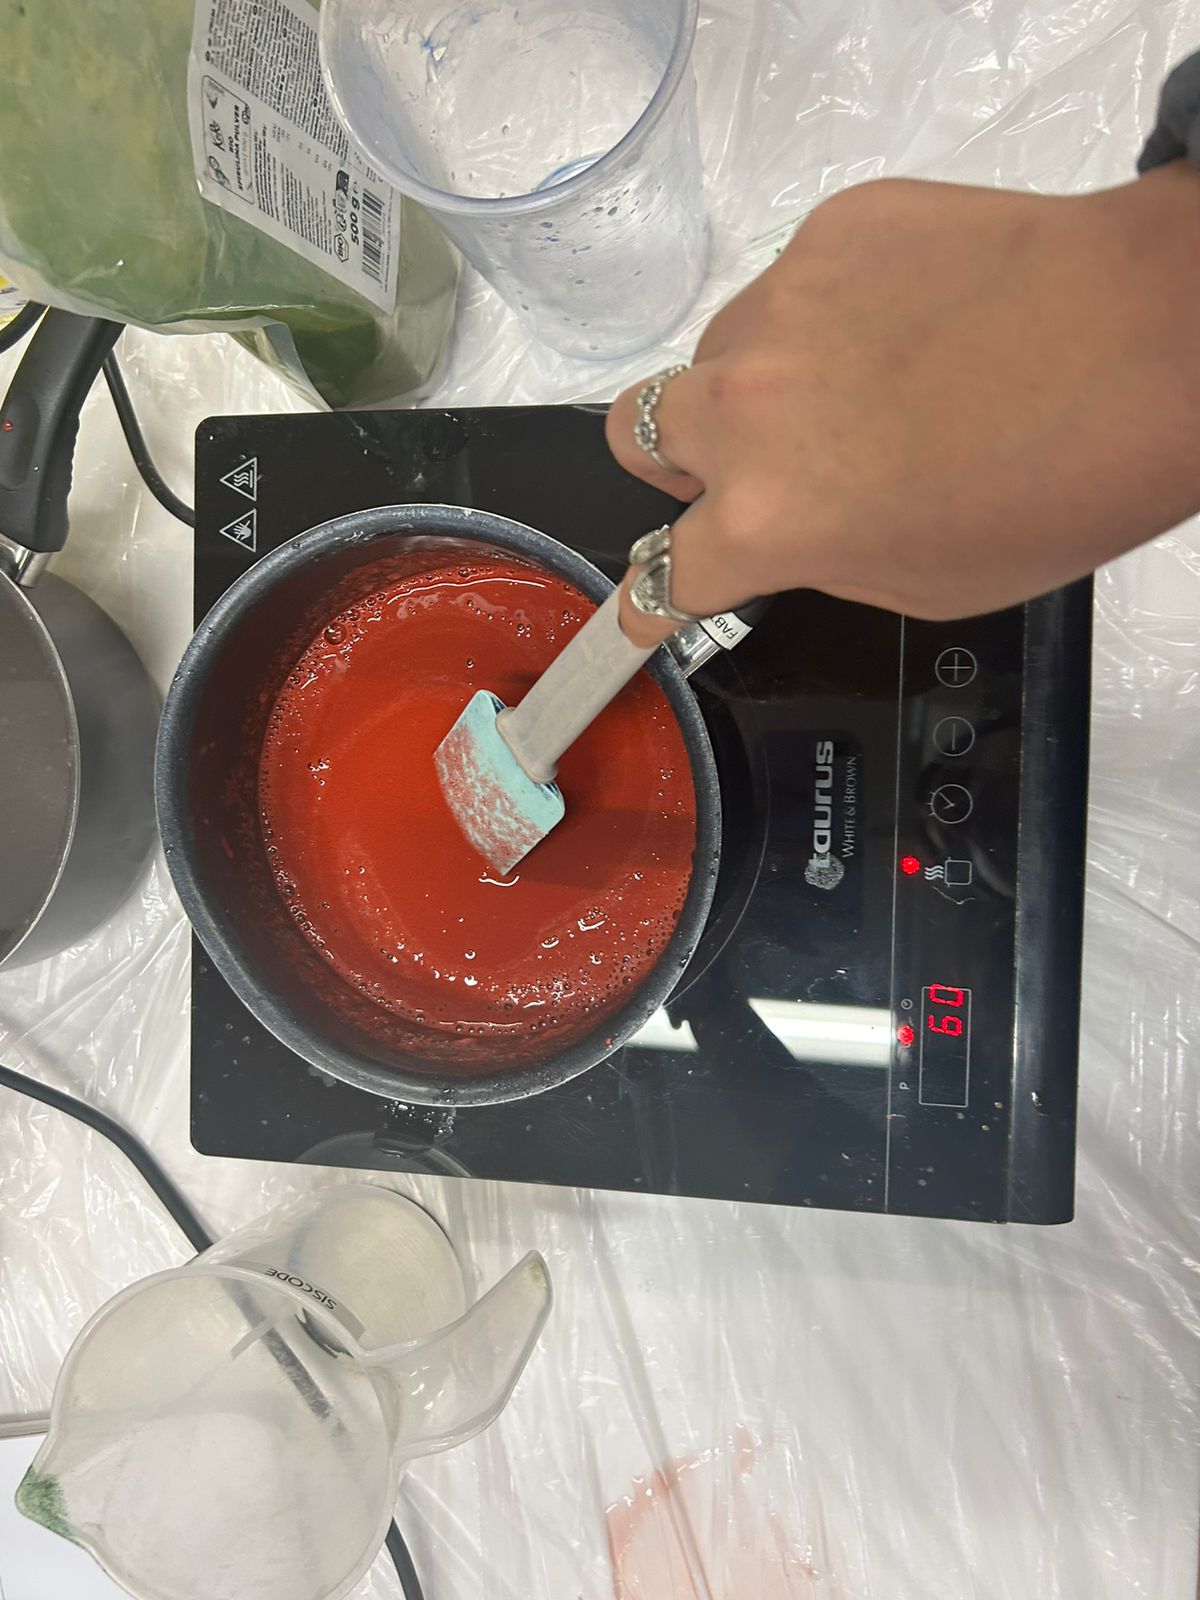
1. Heat water on stove and add powdered gelatine. Continue heating until almost boiling, let all the gelatine dissolve
2. Add glycerol now if you are using it
3. Lay wool on your mold, your mold should be acrylic or hard plastic when using gelatine
4. Allow mixture to cool slightly and then pour into mold
5. Let dry for around 2 days at room temperature
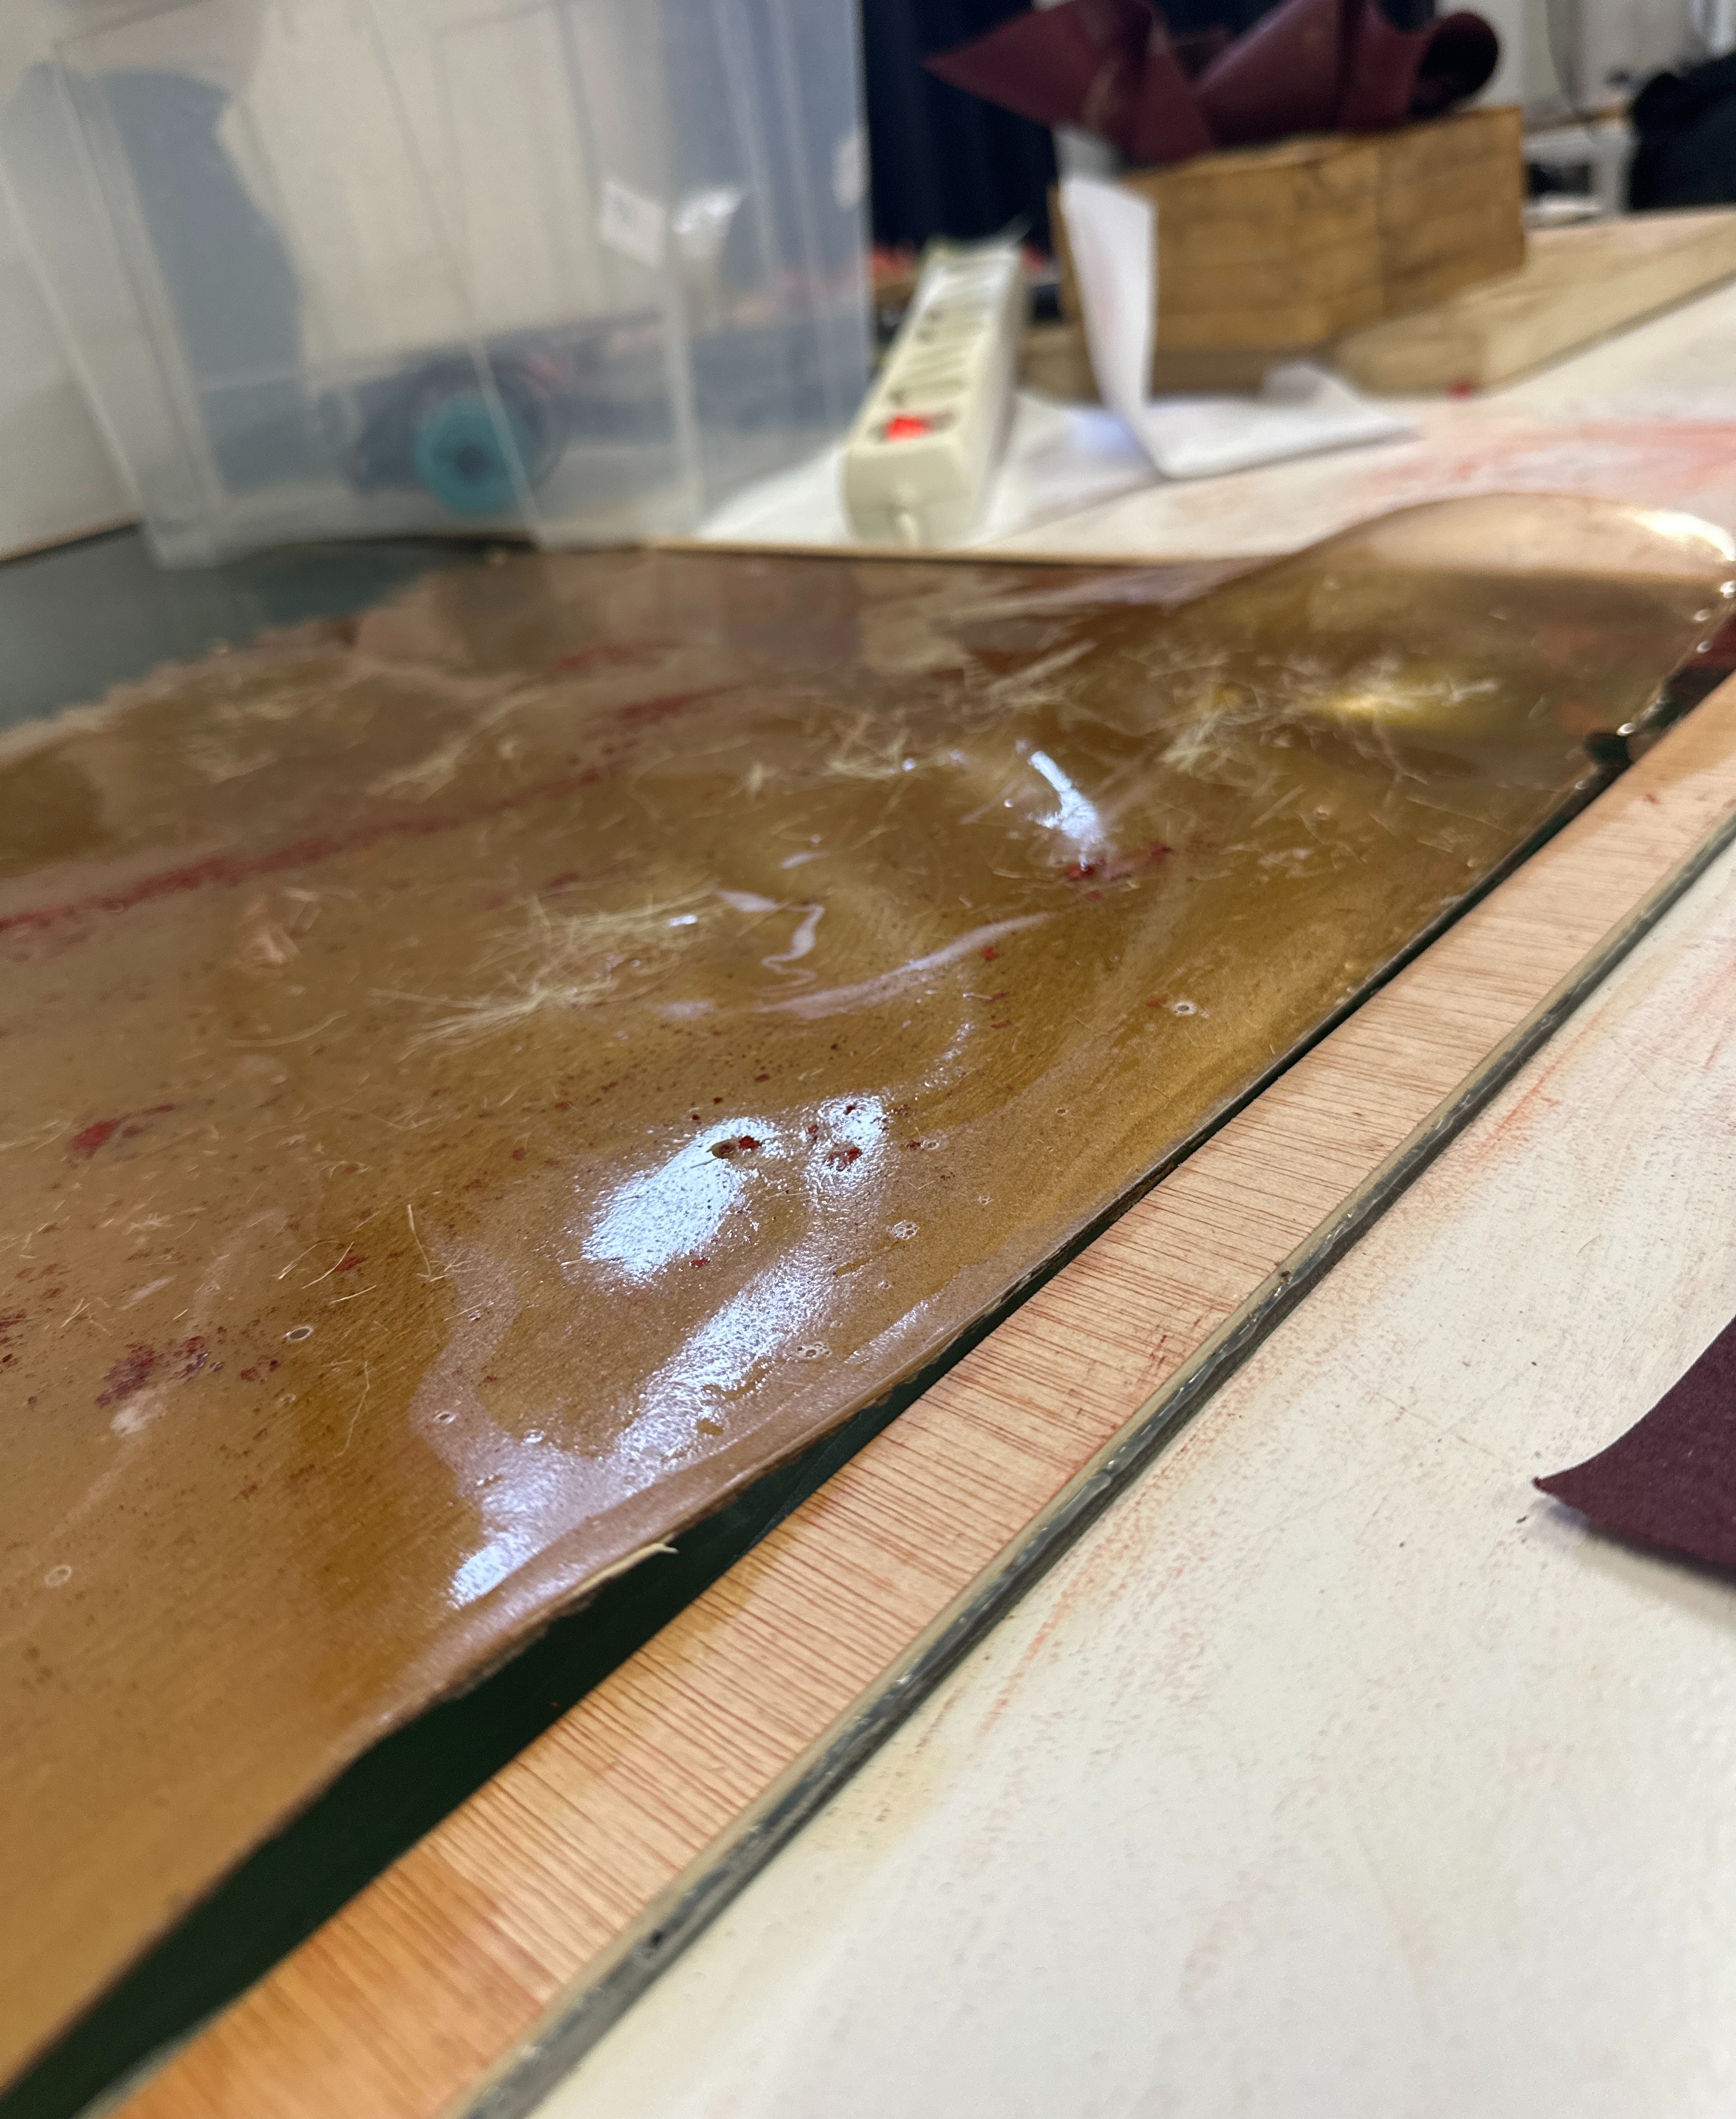
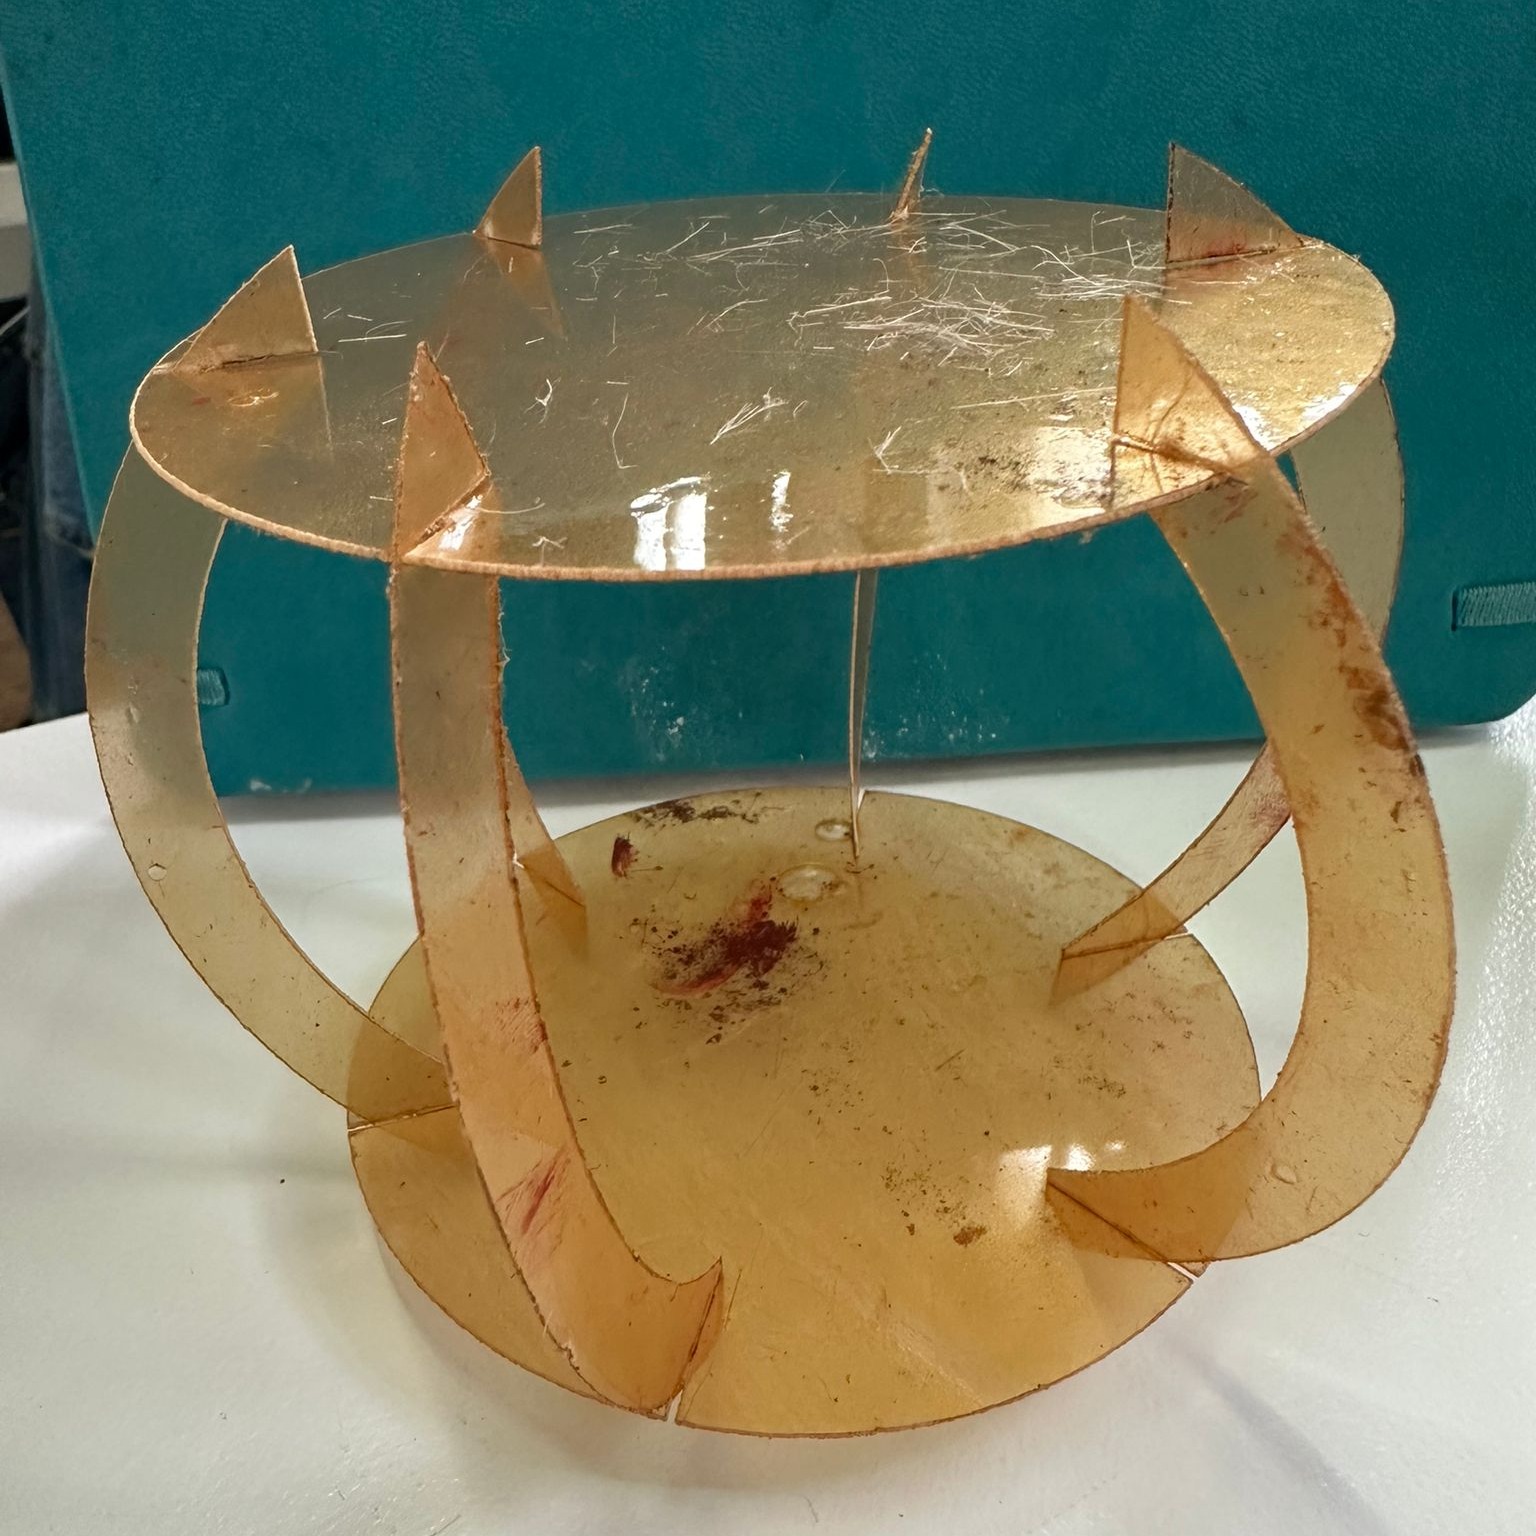
Sample Batch 2
Using gelatine, goat hair. This one had the best structure in the end. So we continued with this recipe.
Recipe Batch 2:
- Water 240ml
- Gelatine 48 g
- Glycerol 2 g - for a rigid effect (added after first 2 tests)
- Goats hair - to ensure it stays together
- Myca powder red - add whatever type of colouring agent you want
- Oil - for combatting breakage when using little glycerol
Steps:
1. Heat water on stove and add powdered gelatine.
Continue heating until almost boiling, let all the gelatine dissolve
2. Add glycerol, oil and myca powder now
3. Lay hair on your mold, your mold should be acrylic or hard plastic when using gelatine
4. Allow mixture to cool slightly and then pour into mold
5. Let dry for around 2 days at room temperature